This post has nothing to do with recipes and nothing to do with motorcycles. Actually it’s a baby DIY project that was really inspired by Pinterest. I adore Pinterest. Something about all the stuff that I pin gets my creative juices going!
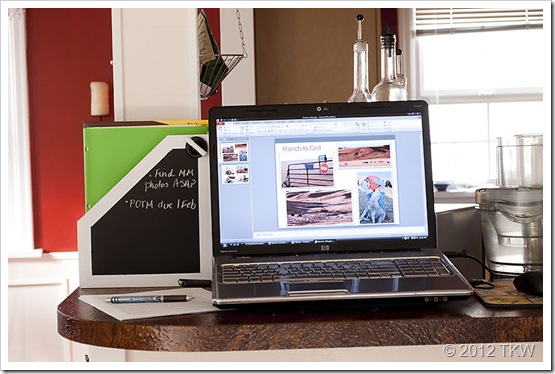
Many of the DIY projects that I see have chalkboard paint included. Some are painted on walls, inside cabinets and even baby food jar lids that were converted into spice containers then labeled using chalkboard paint. With all that inspiration, I started thinking about my daily workspace. Since I’ve become a “full time” writer I’ve spent a majority of my time at my laptop. I have it placed strategically near my kitchen because that is where most of the action comes from.
Plus 90 % of my photos are taken in my living area because it has a huge picture window…great for natural light. My house is tiny, with the top floor only boasting 900 square foot. That includes: kitchen, dining area, living area, two bedrooms and a bathroom. It was/is part of our downsizing plan.
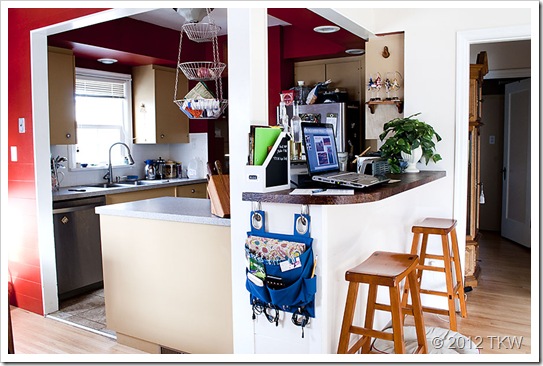
Downsizing has it’s plus and minuses. Less to clean, but also less storage and working space. We have a finished basement but the one bedroom area is McGyver’s office which has left me no place for an office. We could share but I like to be close to my workspace (read: food). And that is how my laptop/office ended up on the bar near the kitchen.
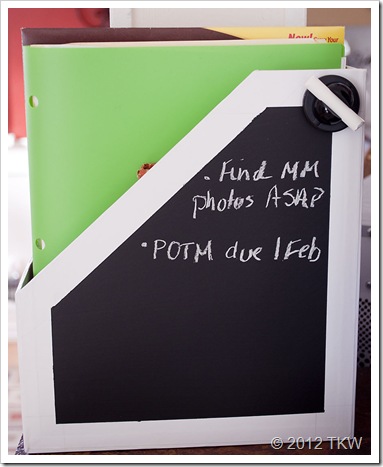
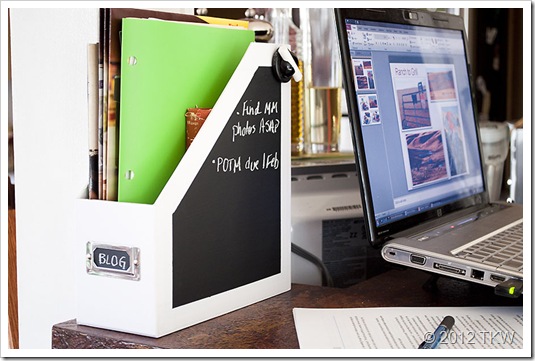
Blogging and writing has a certain amount of paperwork and deadlines…I needed to file and keep things close by because I am inherently lazy. I have file cabinets and calendars but they aren’t located in my “hot spot”. So I created a little work space. One that works for me. The best part? Using chalkboard paint on a cheap file/magazine holder to give myself a “quick note” place. I also painted the cardboard label paper that came with the box to create an erasable label, then I painted the side for note keeping.
It was simple, I used painters tape to mark off the border so no measurements were required. I added a “Grip it” holder to hold a piece of chalk and voila, papers and notations at my finger tips! I also hung an organizer with 3M hooks (purchased at Wal-Mart) to hold some other stuff. All in all, it’s a small space that works for me. The simple addition of using chalk board paint for notes is da bomb!
When it was all said and done, this project took about five minutes to tape off and paint, then a couple of hours for dry time, then one more coat of paint and dry time. I think I may have spent more time photographing it, and certainly less time creating it, than writing about it!


Cute idea! I love Pinterest, too… so many good things!
Pinterest YES!
Sorry, had to get that out of my system. This is a really cute idea. I’m tempted to try it!
I just painted a 8 foot piece of composition board with chalkboard paint and separated the chalkboard sections with cork squares. I just need to hang it in the “studio” over the work area. I am wanting to paint everything with chalk board paint now! (I also painted some flowerpots with this paint for xmas presents.)
I am totally pinning THIS!