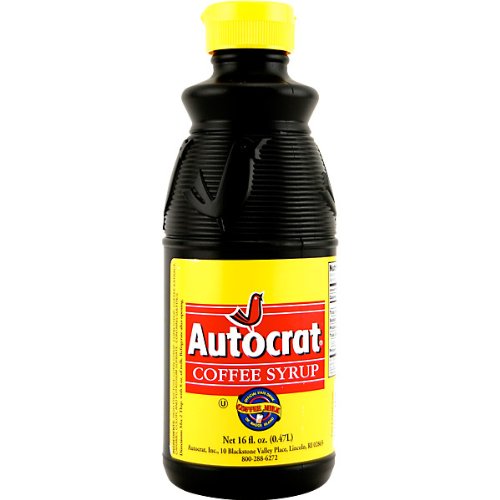
Have you ever heard of Coffee Milk? I hadn’t either until 1996, I was visiting family in Rhode Island before heading to England and in the fridge was this plastic bottle with a bright yellow label.
Coffee Syrup? What do you need coffee syrup for?
Coffee milk of course! I was sure that coffee milk must be the same as iced coffee just in Rhode Island colloquium like cabinets (shakes) and grinders (sub/hoagie sandwiches). I was quickly corrected, it’s not the same as Iced coffee.
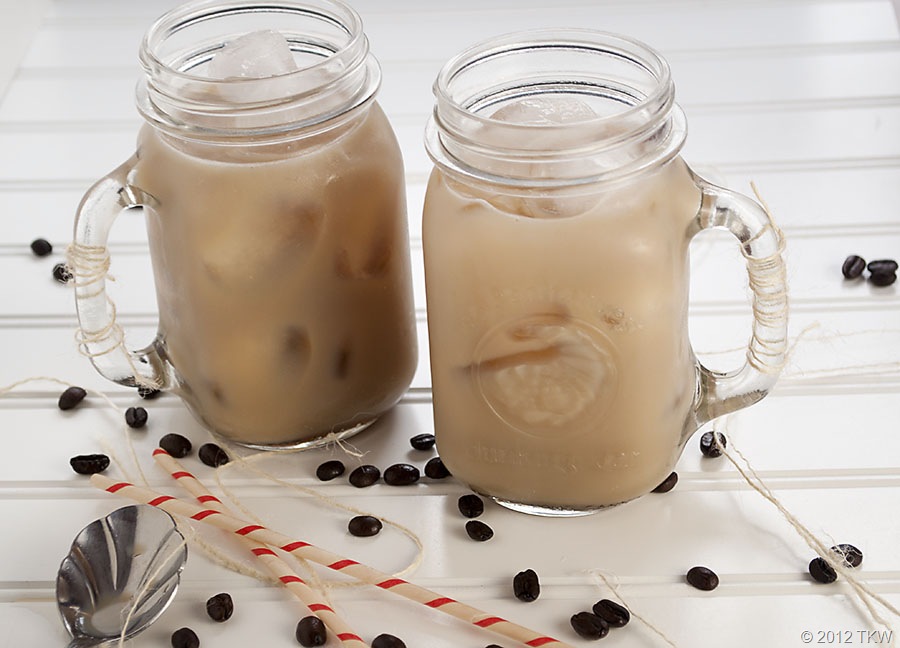
A tall glass was made up for me. It started with ice cubes (hello iced coffee), then it was filled with milk and then the coffee syrup was squeezed. Stir, stir, slurp, slurp, smack, sip, gulp, I declared it wonderful. I also decided that it was still iced coffee but much more convenient. No wonder it’s the official drink of Rhode Island!
What it is most similar to is chocolate or strawberry milk, a sweetened flavored syrup added to milk and mixed for an instant flavored milk. I had to have some of my very own! Unfortunately it’s a very local thing (still is, unless you order from Amazon), I had to devise a way to make my own!
After many years of trail and error and McGyver will tell you that I’ve burnt more than one pot trying to make a coffee syrup and forgotten it on the stove (ugh, burnt sugar). I’m sharing with you this wonderful delight, sans the burnt pots (the trick was to reduce the coffee first then add the sugar…)
Tip: I save my leftover coffee in the refrigerator until I have a least two cups of coffee. You could of course brew fresh and use that also.

- 2 cups brewed coffee
- 1 cup sugar
- Milk
- Pour coffee into a medium sized sauce pan, heat over medium low heat until coffee is reduced by half. Remove from heat and immediately add 1 cup sugar, stir constantly until sugar is dissolved. Store in refrigerator until ready to use.
- To make coffee milk: Fill a tall glass with ice (if desired), add milk and 1 to 2 tablespoons coffee syrup (more or less to taste), stir well to blend.
- If you have an old squeeze bottle, they make it very convenient to dispense the coffee syrup.
If you are curious how photography school is going, it’s hectic. We have some 12 hour days and go to class on some weekends, plus optional (read should go) lectures Sunday evening. We’re starting with the very basics, setting up programs, our computers, getting familiar with our cameras, using Lightroom, using manual and seeing what the aperature and shutter speed does…and more!
Here’s a little sample of what I’ve shooting (assignment and pleasure):
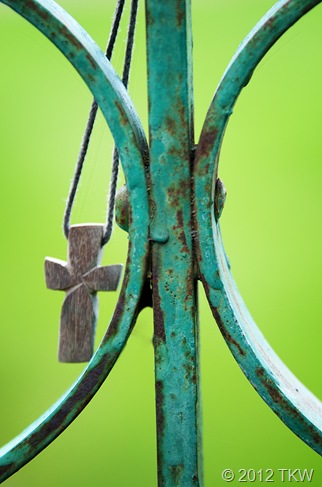
We went to Fort Missoula for a field shoot, while my classmates were shooting the cool stuff at the fort, I slinked off down the road to the fort’s cemetery. This is the gate, my heart was captured by the simple handmade cross hung on the gate.
My visit was a full two weeks after Memorial Day, but someone had bothered to come and lay flowers at this unknown soldiers grave. The flowers are fading but the sentiment is not.
Let me introduce you to my new neighbor, I get the distinct feeling that he is not altogether happy with the situation.
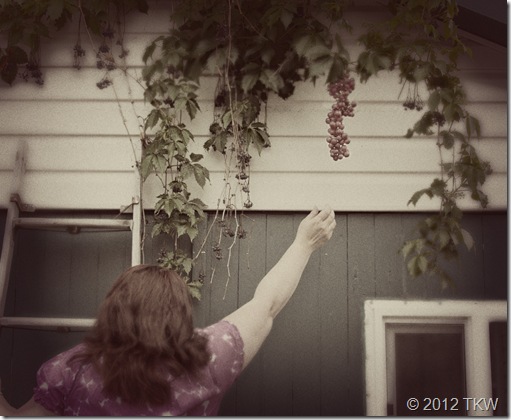
This was for an assignment for my Visual Studies (read creative photography) class. The assignment was to communicate one of the senses other than sight, can you guess which one I’m trying to relay?
This was quit the challenge for me, I had this vision and to make it happen I had to climb this rickety old ladder and hand the grapes on this non-grape vine. Then I had to *gasp* read my manual to learn how to do a remote shot since I didn’t have a model. I was not exactly comfortable reaching for the grapes on a ladder set on uneven ground!
Did you guess what sense I wanted to convey? It’s a bit abstract, I was going for “touch” hoping that the photo would make you want to reach and touch the grapes. The great thing about creative assignments, as long as you can explain what it means to you, then it can’t be wrong. I think visual studies may end up being my favorite.
If your curios the photo was post processed in Photoshop with the Pioneer Woman’s action vintage with the opacity dialed down to 83%. Then I used MCP Action Touch of Light to slightly highlight the grapes. If you have Photoshop, and would like to have these easy actions, both of them are free.





I grew up in Massachusetts and we had coffee milk all the time (no ice). I’d pour the syrup in until the was *dark* brown – love the stuff! Great pictures… glad you’re enjoying school!
You need your editor ;^) And I had the last of the coffee syrup this AM! Luv U McGyver, Out
love love love your grape photo. I am so proud of you. Have fun
Oz thanks so much, school is fun. Everyday I learn that I need to learn more!
Love the gate photo. Have never heard of coffee milk but I am on Amazon right now! 🙂 Hang in there with class!
I don’t get why coffee milk isn’t popular everywhere! Maybe RI is big enough to start a national trend!
So glad you figured out the syrup–this is very convenient! Love making bottled stuff at home. 🙂 I’m not very interested in photography but you’re making me want to join you, it sounds like fun! I love your “touch” shot, that is exactly what I guessed you were going for. Very well done!
I have never ever heard of Coffee syrup. And congrats on figuring out the recipe. Your photos are wonderful. I tried to install Pioneer Woman’s actions and the instructions were so difficult I never got it done – darn it.
Coffee Milk … What an idea … BTW, Love your photos 🙂
This is totally unique to me…I will be trying soonest. I am bookmarking the page. Lovely photos!
Adore chilled coffee in hottest summer months.
And I love, love, love, Rhonda, your sweetly vintage grape shot. It’s simply great.
Coffee syrup! I’m raving over the idea. I make espresso from scratch for iced coffee, but I would love to try this. Didn’t know it existed. I only know Yoo-Hoo. ; )