Five years ago, I finished my photography course at Rocky Mountain School of Photography. After graduating and moving back to Great Falls I really missed being around creative photo bugs. The cure was the Great Falls Camera Club. Now five years later, I had the opportunity to share my love of food photography with them.
It started with a presentation on food photography. It was inspiring enough that some of the club members, 30 or so to be exact, wanted to do some hands on. That’s all the encouragement I needed. We set up a couple dates, booked the gorgeous cafe space at Paris Gibson Square Museum and viola! We spent a couple hours with me doing a demo and then they had stations to practice styling and shooting.
My next few posts will share the recipes for our goodies we shot plus a gallery (unedited) of their shots.
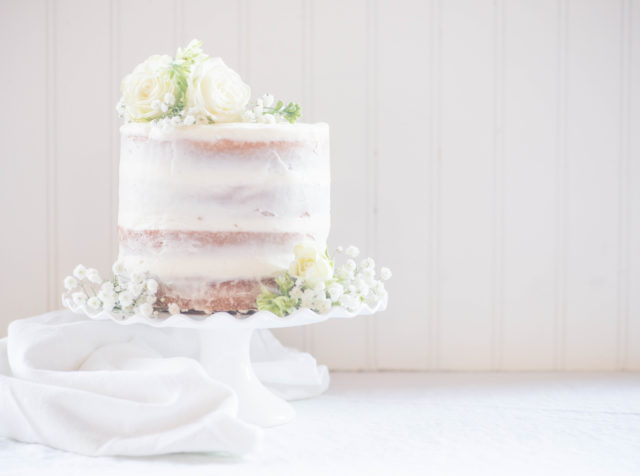
Learning High Key and “copy space”
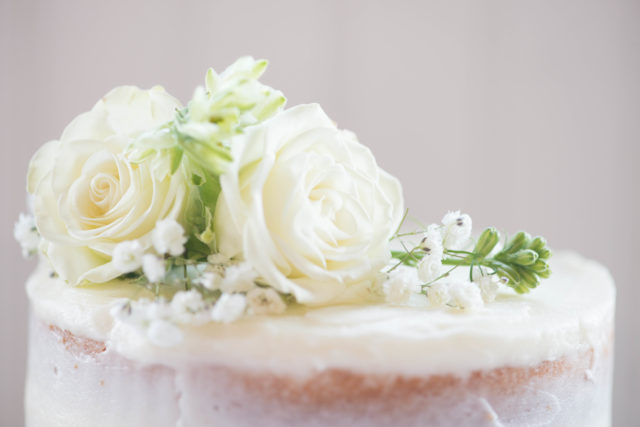
Styling demo
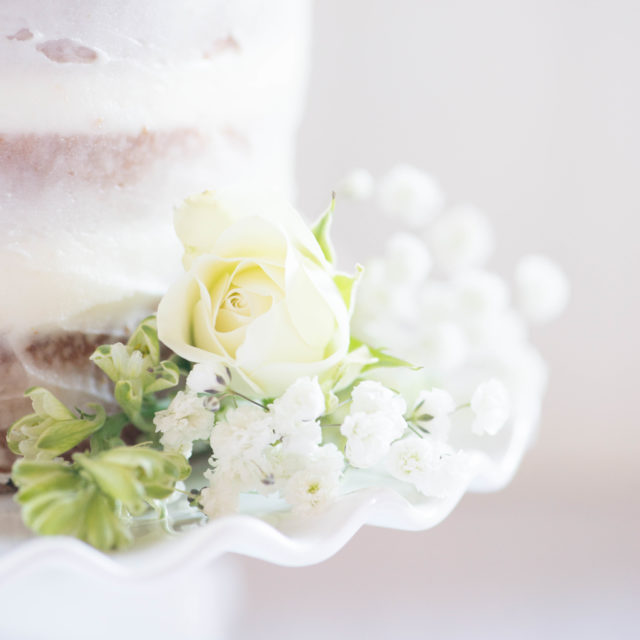
Don’t forget to shoot the details


- Cake
- 1 box white cake mix plus added ingredients required (oil and eggs)
- 1 egg
- 2 teaspoons orange extract
- zest of 1 orange
- Baker's Joy
- Frosting
- 4 cups powdered sugar
- 1 cup unsalted butter, room temperature
- 1/8 teaspoon salt
- 1/4 cup heavy whipping cream
- 2 teaspoons almond extract
- Sliced Almonds (optional)
- Preheat oven to 350°F.
- Cut a parchment round to fit inside two double high 6" cake pans or 4 regular 6" cake pans. Spray pans with Baker's Joy. Place parchment paper in the bottom(s) of pans, then spray paper.
- In a stand mixer with a paddle or large bowl with a hand mixer, make cake according to box directions except add extra egg and orange extract.
- Divide evenly between pans. Tap pans up and down on the counter to release air bubbles. Bake 20 to 30 minutes or until a toothpick comes out clean. Let cool on a cooling rack till pan is cool enough to handle. Remove cake and return to cooling rack. Finish cooling, cover with a tea towel till next day.
- Make frosting. In a stand mixer with a paddle attachment or large bowl with a hand mixer, mix all ingredients except almonds on low speed till mostly blended then increase speed to high and beat another 3 to 4 minutes until light and fluffy being sure to scrape down the sides occasionally.
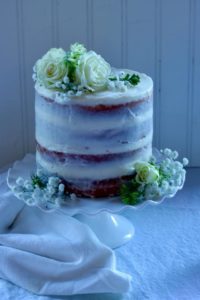
- Prepare cake. Brush crumbs from cake. If you used a double high pan, cut layers in half and cut off top dome (freeze for cake pops later). Place bottom layer on a cardboard round or other suitable base.
- Frost: Place some frosting in a pastry bag fitted with a large round tip. Pipe frosting around outer edge, then continue to pipe filling in the rest. Smooth with an off set spatula. Sprinkle with sliced almonds if desired. Repeat with remaining layers.
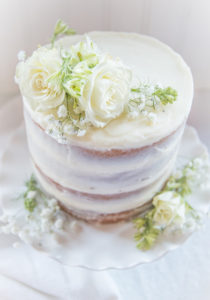
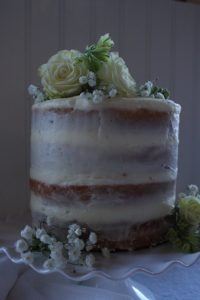
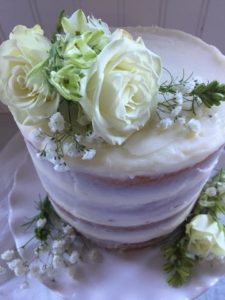
- After top layer is frosted, use piping bag and tip and fill in the spaces between layers. Use an off set spatula to to smooth. Finish frosting, scraping off excess so that cake shows through. Refrigerate a few hours or overnight to firm frosting up.
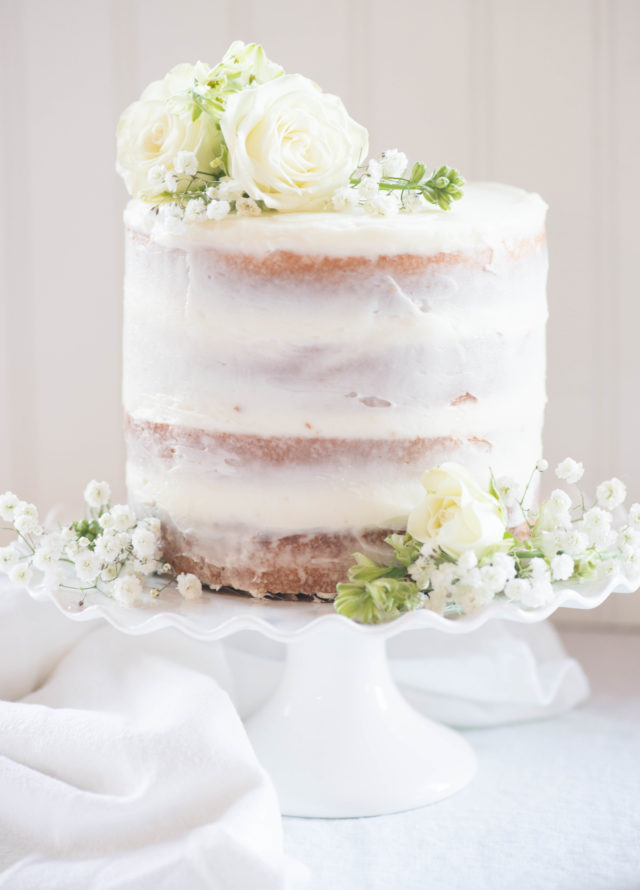
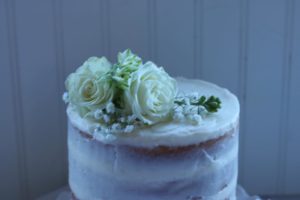
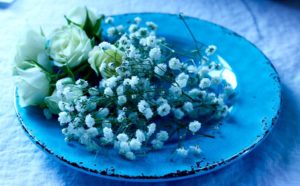
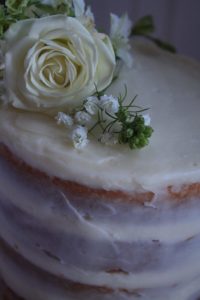
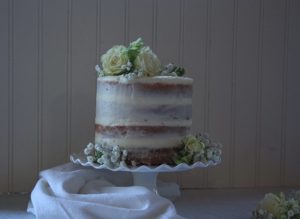
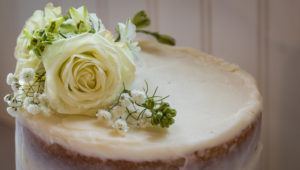
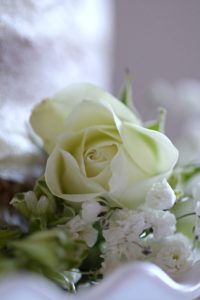
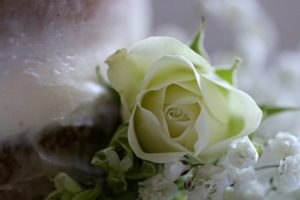
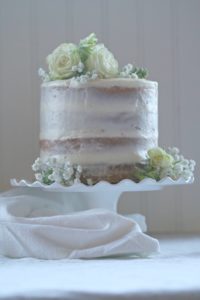
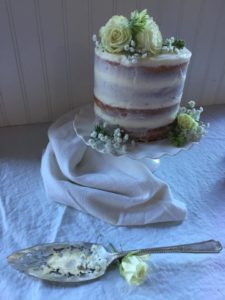
- Decorate with fresh flowers or whatever you like.
- Cake is easier to frost when cake is a day old, don't worry it won't dry out over night. The extra egg makes this a nice moist cake. You can bake the cake and freeze for later.
- The frosting can also be make ahead up to 2 days, more then that refrigerate for up to two weeks. Bring back to room temp before using.
- Refrigerating the already frosted cake, uncovered, firms up the frosting. After firming you can fix any frosting bumps, etc. It also is easier to decorate and transport.
- DebbieClapshaw5
- DebbieClapshaw1
- AshlingJohnson1
- Amylegg5
- Amylegg4
- Amylegg3
- WalterMehmke1
- TammyHuntting7
- TammyHuntting5
- TammyHuntting4
- RoxieArps6
- RoxieArps5
- JulieNice11
- JulieNice7
- JulieNice5
- Julienice2
- DebbieClapshaw8

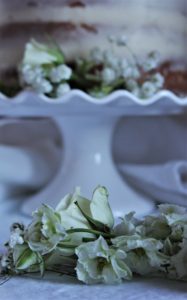
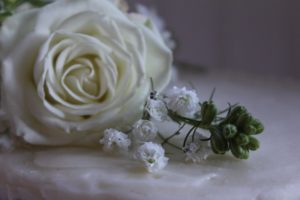
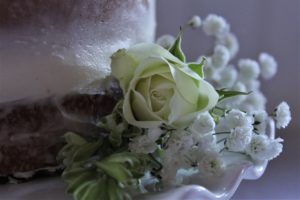
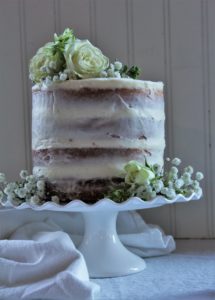


Rhonda, Thank you so much for sharing your expertise in food photography and food styling with our club. The members were thrilled with the workshop and the photos that they captured. And the food was delicious. It was a great learning experience. We are thrilled with the photos you are sharing here from the club.
I had a great time doing this! Hope to do it again someday.